No products in the cart.
Featured Astronomy Magazine online Picture of the Day, Sept 8th, 2016.
Also featured in Amateur Astrophotography E-Magazine Aug 9th, issue #31
It’s been several years since I imaged M20 the Trifid Nebula. I decided to begin collecting new data on it in May 2016 using the remote 16″ ASA astrograph at Siding Springs Observatory. It took about two months with poor weather conditions and time. I did however manage to gather more data recently which has allowed me to at least put this image together. I’m intending to add more data to it but for now I’ve moved on to other deep sky targets.

M20 is in the constellation of Sagittarius, the teapot. It’s approximately 5000 lightyears away from Earth. Discovered by Charles Messier on June 5, 1764.
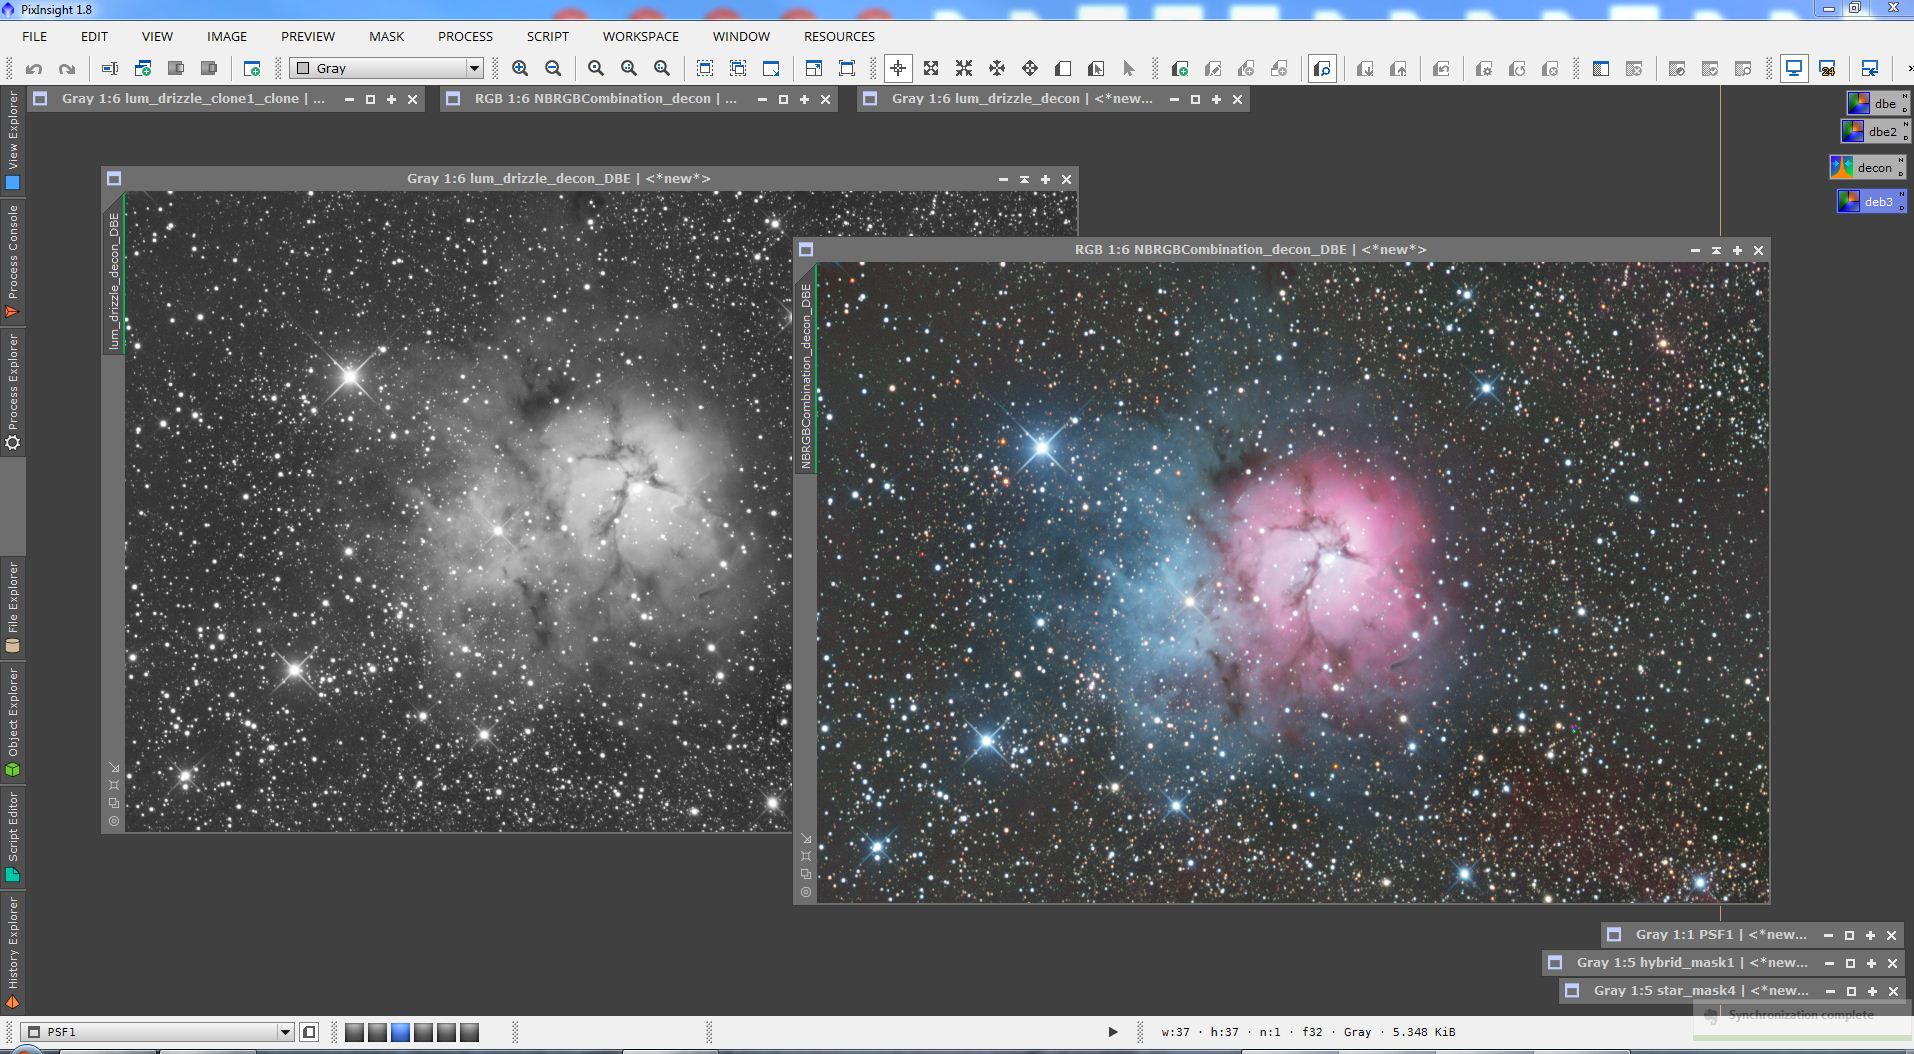
The data used to create this image consists of narrowband (H-alpha and O3), luminance and red, green, blue colour channels. Processing was performed in Pixinsight.
The Trifid Nebula is well known among observers and astrophotographers. It’s a unique region of space that has emission nebula, reflection nebula and dark nebula all in one. Also known as M20, this H II region is located in the constellation of Sagittarius and was discovered by Charles Messier on June 5, 1764. Its name means ‘divided into three lobes’.
All frames were auto calibrated by the imaging system. Cosmetic correction was then applied to all frames within a group. All H-alpha frames were run through cosmetic correction, all O3 frames, all luminance and so forth. Cosmetic correction allows you to remove unwanted hot and cold pixels that may not have been entirely removed by the calibration process. This tool also allows for the removal of bad columns sometimes associated with CCD cameras.
Once cosmetic correction was done, each data set was aligned. The drizzle data was created at this point as well for later use.

The next process was image integration. This stacks all of the aligned images in a data set. Once the stacking process was completed the drizzle data was applied using the drizzle integration function. Drizzle allows for correction of undersampled data. It greatly improves stars effected by pixelation and increases overall resolution.
Once all of the master stacks were created I could begin assembling the data and processing it.
The Dynamic Background Extraction tool was used to further remove any remaining gradients. Deconvolution was used to compensate for atmospheric blurring of the image details. This technique is also used for images taken with the Hubble Space Telescope.
An RGB master was created using the channel combination tool. Then the NBRGB combine script was used to integrate the RGB master with the H-alpha and O3 masters. The Luminance master was then applied to the NBRGB master.
Using the Historgram Transformation tool I went to work bringing out the appearance and details of the Trifid Nebula. This process turns an otherwise dark looking image with nothing in it, to a vibrant and pretty image of the deep sky object.
I created a range mask so only the core of the nebula could be worked on. I applied some HDRwavelet to this area of the image which helps reduce washed out areas and restore detail.
Colour saturation was applied to taste. A little curves adjustment was made to darken the background a bit more and brighten the Trifid Nebula features.
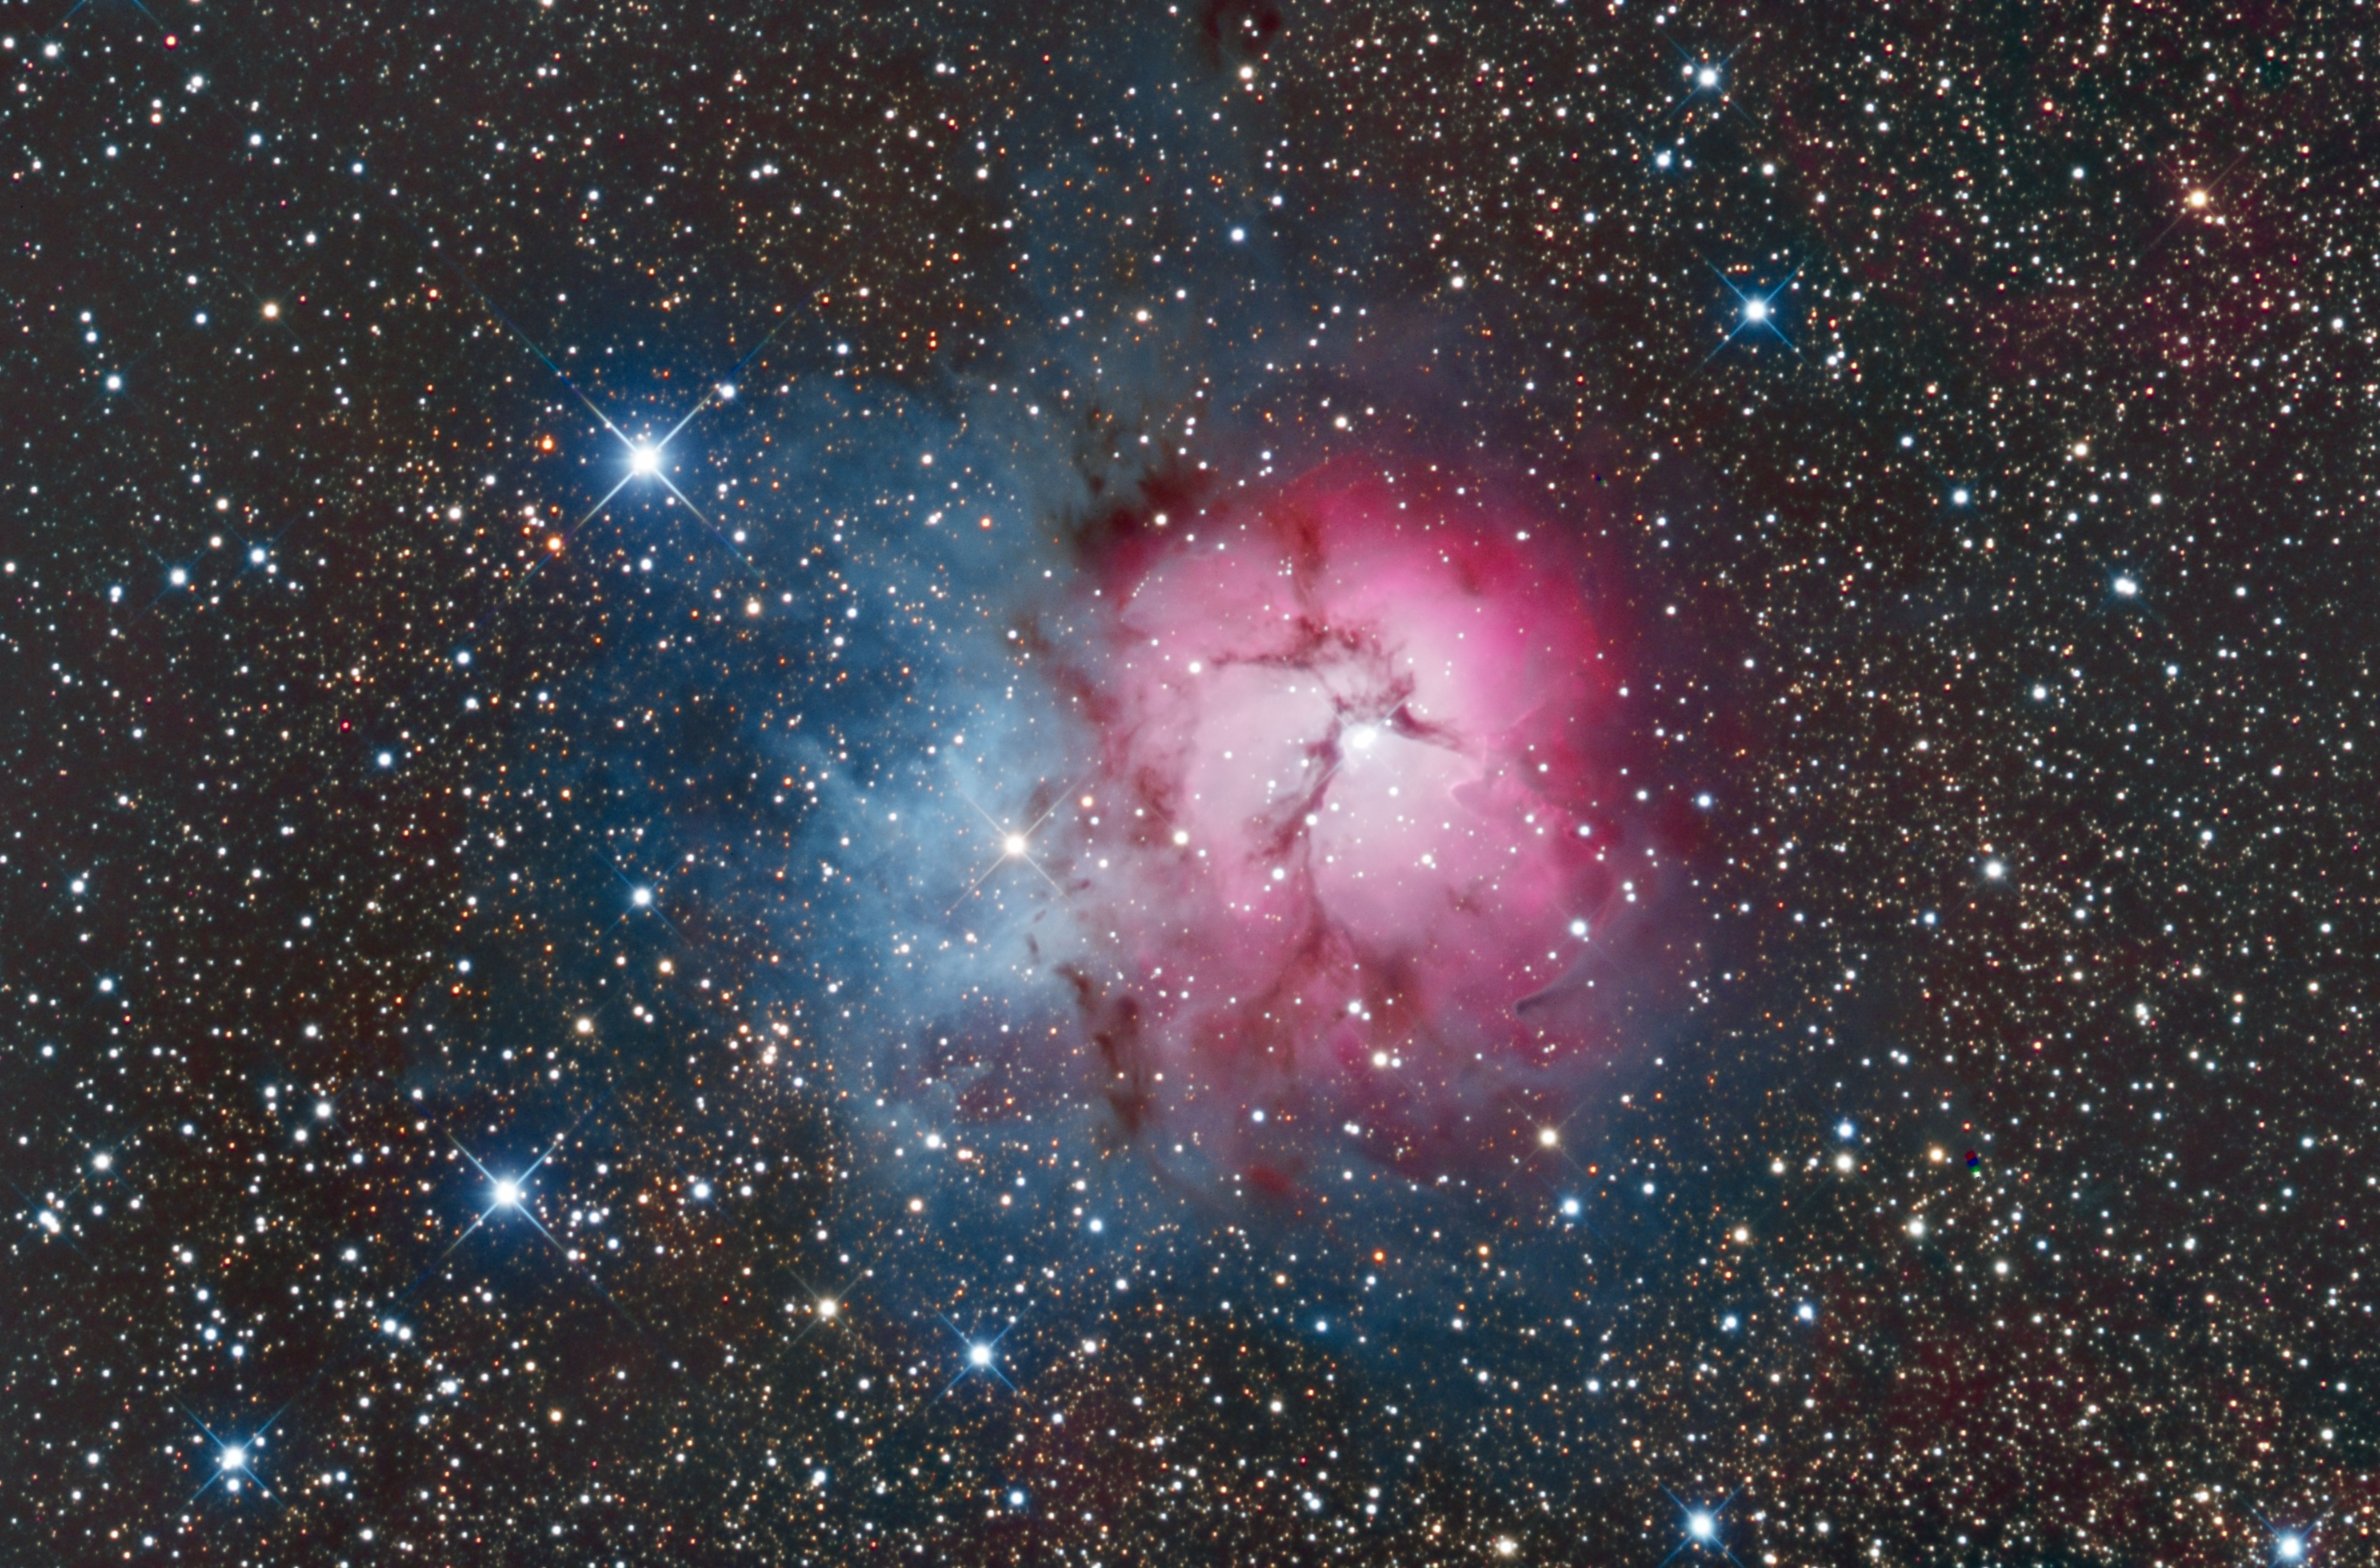
Tada! A finished imaged that required 4 hours of data acquisition and 10+ hours of processing. They do say astrophotography is one of the most difficult and demanding forms of photography and I believe them.
UPDATE, January 2019:
Since I first processed this data in 2016 I’ve learned a lot. So I went back and re-processed this M20 image. My main goal was to reduce noise better than I had. I was successful. I applied new knowledge of noise reduction in Pixinsight using the Multiscale Linear Transform tool and the TGVdenoise tool.
Here’s the newly reprocessed image…
and this is before and after of the noise reduction…
Technical:
Imaged from iTelescope remote T33 telescope at Siding Spring Observatory in Australia.
16″ F/3.5 Astro Systeme Austria (ASA) Astrograph mounted on a Paramount ME. The OTA is coupled with a large format main imaging camera and guided with a Starlight Xpress Lodestar using a custom made Off-Axis adapter.
16 megapixel Apogee Aspen CG16070 Class 1 CCD paired withan Apogee FW50-9R 9 Position Filter Wheel.
87 x 58 arcmin FoV at an image scale of 1.07 arcsec/pixel.
240min total of Hydrogen-Alpha, Oxygen III, Luminance, Red, Green and Blue channels.
Processing: Pixinsight
#ClearSkies!

My story began more than 40 years ago looking up at the Moon with a small telescope my Father had. Encouraged by my parents, who bought me my very own telescope, a 4.5″ reflector, I began to explore the night sky from my family home backyard. Today I do astrophotography from my home in Kitchener, Ontario and also with remote telescopes located in New Mexico and Australia. Some of my images have won awards and have been featured online and in magazines.
Leave a comment...